Throughout the program there are a few areas where you can add a Picture or Image. You can add a Company Logo, Item and Component Pictures.
Acceptable file types for images are files ending with the following extensions: jpg/jpeg, png, bmp and tif/tiff. *A PDF file is not a picture file image and cannot be used.
Below we explain the functions available on each the Picture/Image windows, using the Item picture window as an example.

![]()
![]()
Capture Button: The capture button is available for Cloud users ONLY. If you are accessing Design Manager through a mobile device (iPhone, iPad, Samsung phone, etc) you can select the capture button to access the device's camera. This will allow you to take a picture on the spot of the Item and attach that photo to the Item. NOTE: For iPhone or other Apple devices, the following settings are required. These settings are found within the Citrix Receiver App - open the app on the device and select the Settings button at the bottom of the window.
| • | Display Options - Select any option OTHER than the Auto-fit screen option. |
| • | Advanced - Be sure Use iPhone/iPad Storage is ON |
| • | Win Media Redirect must also be turned ON |
This function is NOT available on Windows mobile phones.
Scan Button: If you have a TWAIN-compatible scanner attached to your computer, you can scan an image directly into the Picture tab by clicking this button. Upon clicking Scan, you will be able to select the appropriate scanner from the Select Source Window.
![]() Load: You can import an existing image on your hard drive or network into the Picture Tab by clicking the Load button. Doing so displays the Design Manager - Load Picture window from which you can locate and select the image from your computer/network that you would like to assign to the Item.
Load: You can import an existing image on your hard drive or network into the Picture Tab by clicking the Load button. Doing so displays the Design Manager - Load Picture window from which you can locate and select the image from your computer/network that you would like to assign to the Item.
![]() Save As: The Save As button allows you to store the Item's picture in a variety of formats on your hard drive, network, or removable media.
Save As: The Save As button allows you to store the Item's picture in a variety of formats on your hard drive, network, or removable media.
Picture Effects: Several controls are available for customizing the image. As these features alter the image, you'll notice that the original format will be stored in the Picture History in the right-hand corner of the window.
| • | Brightness Bar: Clicking and "dragging" the Brightness bar to the left will reduce the overall image brightness. Conversely, dragging the Brightness Bar to the right will increase the overall brightness. |
| • | Smooth/Sharpen (S/S) Bar: Clicking and "dragging" the S/S bar to the left will reduce the sharpness of the image. Conversely, dragging the S/S Bar to the right will enhance the sharpness of the image. |
![]() Flip Button: Clicking the Flip button with vertically invert the image. The image will rotate 180 degrees.
Flip Button: Clicking the Flip button with vertically invert the image. The image will rotate 180 degrees.
![]() Size Button: The Size button will launch the Resize Picture Window which allows you to set the dimensions of the image. NOTE: Company Logo - when using the Logo Includes Company Contact Information option and the company logo file exceeds 3" x 3", you can use the Size button to reduce the company logo in order to reduce the overall size of the page header on the documents, thereby allowing more information to be displayed in the body.
Size Button: The Size button will launch the Resize Picture Window which allows you to set the dimensions of the image. NOTE: Company Logo - when using the Logo Includes Company Contact Information option and the company logo file exceeds 3" x 3", you can use the Size button to reduce the company logo in order to reduce the overall size of the page header on the documents, thereby allowing more information to be displayed in the body.
![]() Remove Button: The Remove button will delete the associated image from the Item. Note that the using the Remove button will NOT delete the original image if it was loaded into the Item from your hard drive or network location.
Remove Button: The Remove button will delete the associated image from the Item. Note that the using the Remove button will NOT delete the original image if it was loaded into the Item from your hard drive or network location.
![]() Cut Button: Choosing the Cut button removes the image. The image is placed in the history below and on your Computer's Clipboard.
Cut Button: Choosing the Cut button removes the image. The image is placed in the history below and on your Computer's Clipboard.
![]() Copy Button: The Copy button allows you to keep the image in place and copies the Image into the memory of your Computer's Clipboard.
Copy Button: The Copy button allows you to keep the image in place and copies the Image into the memory of your Computer's Clipboard.
![]() Paste Button: Clicking on the Paste button will bring in any image you have placed on your Computer's Clipboard; Making it easier to bring in a picture that you do not have saved to the computer.
Paste Button: Clicking on the Paste button will bring in any image you have placed on your Computer's Clipboard; Making it easier to bring in a picture that you do not have saved to the computer.
![]() Undo Button: Clicking the Undo button will replace the current image with the most recent image in the Picture History. The Picture History is only available while currently adding or editing the image. Upon saving or canceling the Item, the History is lost.
Undo Button: Clicking the Undo button will replace the current image with the most recent image in the Picture History. The Picture History is only available while currently adding or editing the image. Upon saving or canceling the Item, the History is lost.
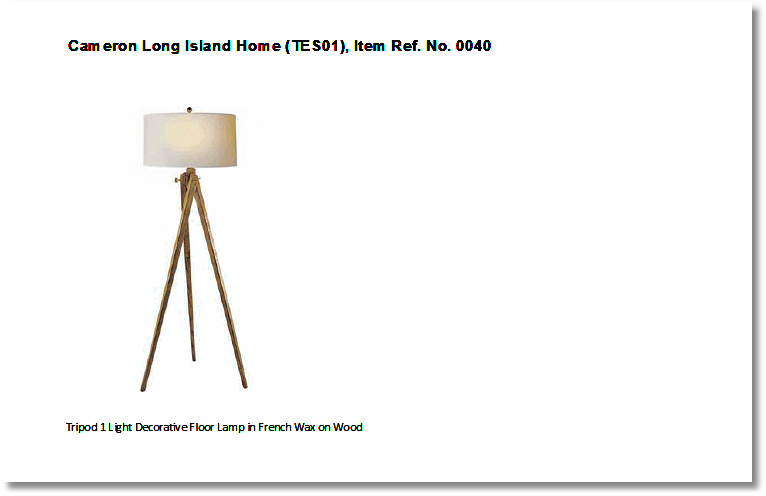
![]() Print Button: The Print button is located at the far bottom right of the Picture. When you click on this button a Print Picture window will appear. Choose OK to get a print preview. This option gives you the ability to print the Picture of the Item or Component with the Project Name, Reference Number and Item Description (or your Logo and the Company Name). The picture prints at approximately 3" x 3".
Print Button: The Print button is located at the far bottom right of the Picture. When you click on this button a Print Picture window will appear. Choose OK to get a print preview. This option gives you the ability to print the Picture of the Item or Component with the Project Name, Reference Number and Item Description (or your Logo and the Company Name). The picture prints at approximately 3" x 3".
Example: