Whether Design Manager has been installed on a peer-to-peer network or a LAN with a dedicated server, each workstation computer (client) attached to the server must be set up. If you are using Windows Terminal Server, skip this section. To run the setup on the workstation, follow these steps:
| 1. | Go to the workstation computer that you wish to run the Design Manager program on. If you have not already done so, Map a Network drive to the Server/Host computer, see below for help on mapping a drive. |
| 2. | Insert the Installation CD. |
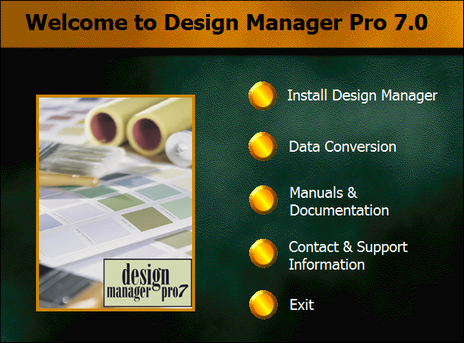
| 3. | Choose Install Design Manager. |
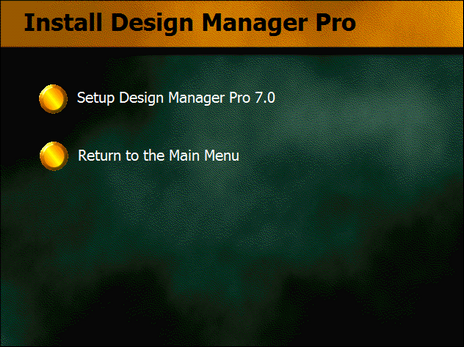
| 4. | Choose Setup Design Manager Pro 7.0 |
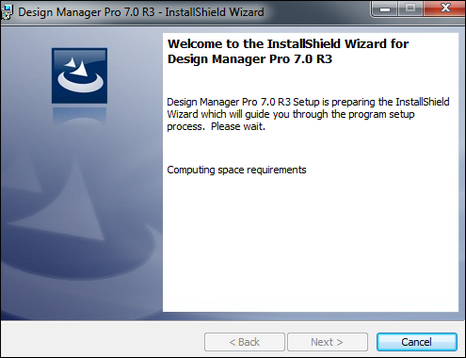
| 5. | Choose Next. |
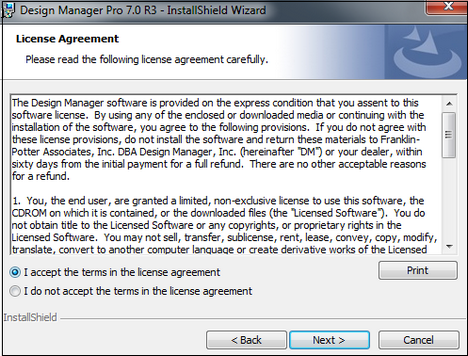
| 6. | Accept the License Agreement and Choose Next. |
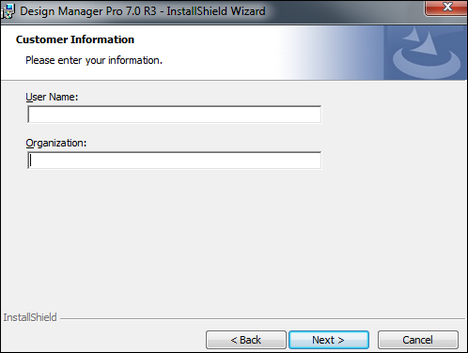
| 7. | Add a User Name and Organization if desired, then Choose Next. |
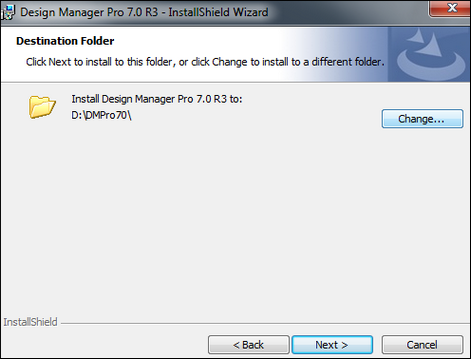
| 8. | The setup wizard will ask you to set the Destination Folder of the software. This must be set to the Design Manager directory (usually called "DMPRO70") on your server/host. Choose Change to set this folder. An example of this setting is "N:\DMPRO70" where "N" is your network drive letter and DMPRO70 is the Design Manager folder. |
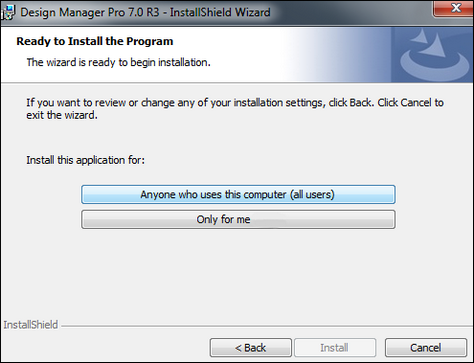
9. Choose if you wish to have the program installed for ALL Users, or ONLY for the user you are logged into the computer as. If you want other users to be able to log into this computer and have the program available to them, then Choose ALL Users.
10. Click Install once you have chosen whom to install for.
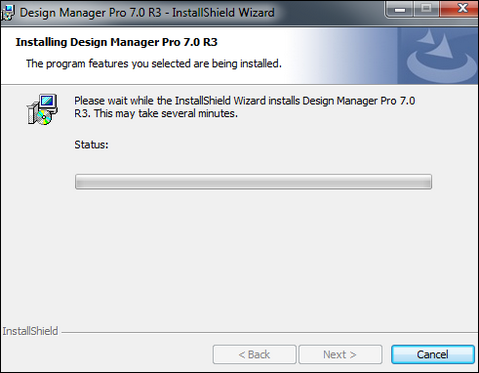
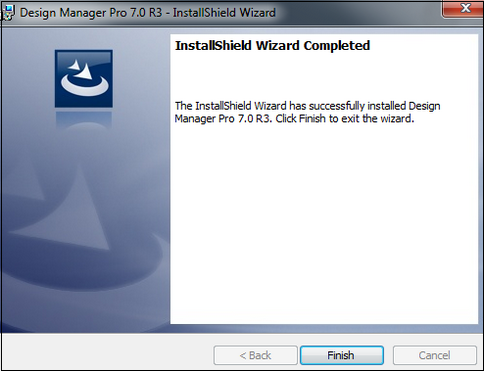
11. The installation will begin and prompt you to Click Finish once completed.
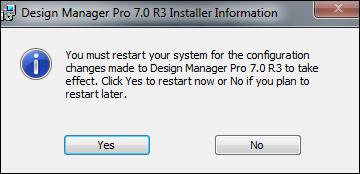
12. You will be prompted to reboot the computer after the installation completes. Choose Yes.
13. Once the computer is rebooted, you should a Design Manager icon on the Desktop.  Click on the icon to log into the program and begin working. See Logging into Design Manager for more help.
How to Map a Network Drive: (do this if you are sharing your Design Manager database among other users/computers & are not using Terminal Services. Below is how to map a drive from a workstation to the Design Manager installed on the Main Host/Server computer. The server/host computer MUST have this folder set to Share in the Properties in order for the users to map a drive to it.)
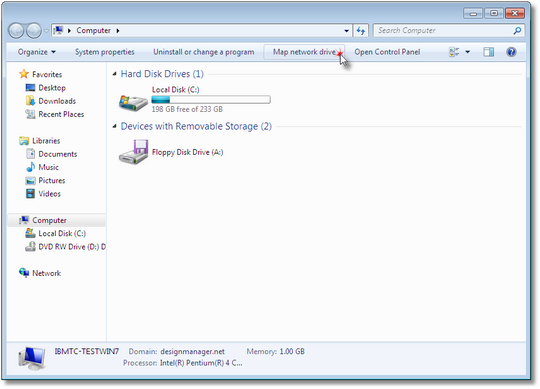
1. Go to Computer on the workstation (computer that is not the host/server), Click on the Map network drive button
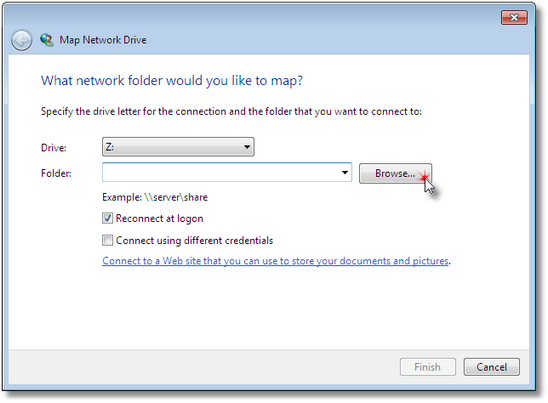
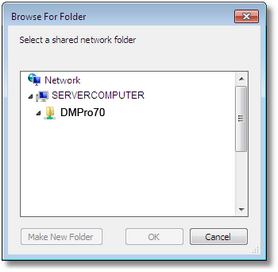
2. Choose an available drive letter and then click the Browse button
3. Find & Choose the Computer that you installed Design Manager on…highlight the DMPro70 folder, click OK.
4. The Map Network Drive window should look similar to below:
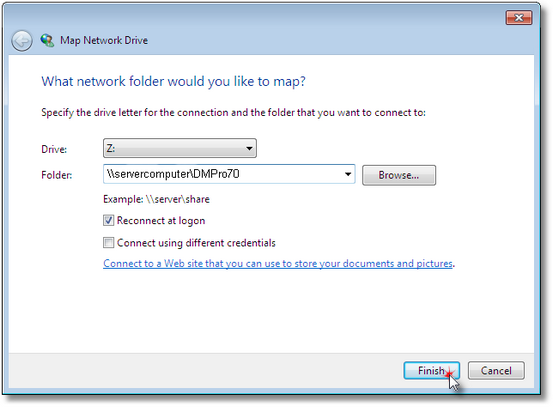
5. Click Finish
Installing on a Windows 10 operating system?
See the following link for additional recommended steps.