Creating and Editing a Website User and Project Default Settings
Creating a New Website User
To allow a Client access to the ClientConnect Website you will need to add them as a new Website User.
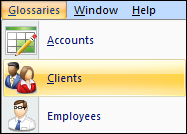
Go to Glossaries – Clients.
Select/Highlight the Client.
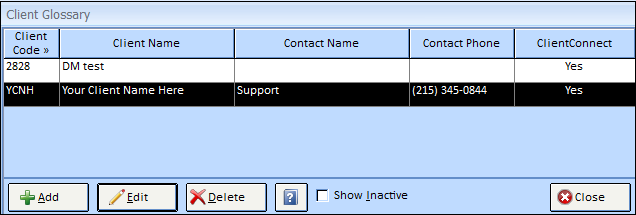
Choose the Edit button.
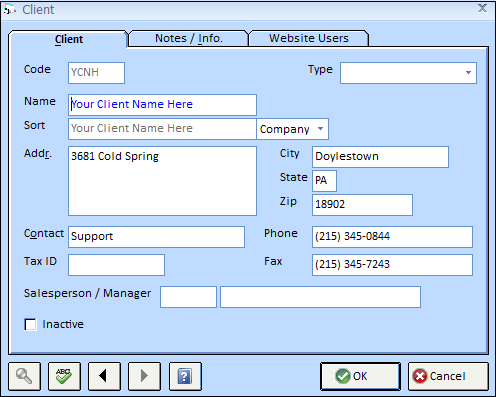
Click on the Website Users Tab.
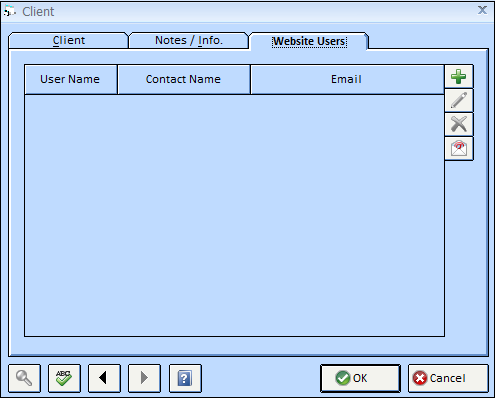
Choose Add ![]() to Enter a New Website User.
to Enter a New Website User.
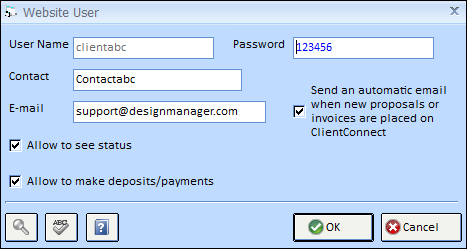
| • | User Name/Password - Enter/Create a Unique User Name and Password. The User Name should ALWAYS be different for each Client and each Website User per Client. The Password MUST be at least 6 characters; both fields have a maximum of 15 Characters and may include all numbers, letters, or a combination of both. |
| ▪ | Contact - the Contact Name of the User. |
| ▪ | E-mail – The E-mail address for this User. The E-mail Invite Message will be sent to this address. |
| ▪ | Allow to see status – This checkbox gives this user access to the Status Reports on the Website. |
| ▪ | Allow to make deposits/payments - This checkbox gives this user access to make payments against Proposals and Invoices. |
| ▪ | Send an automatic email when new proposals or invoices are placed on ClientConnect - This Checkbox allows you to have the system automatically send an email to the Website User to notify them that their Proposal or Invoice has been added to the Website for viewing/payment. The checkbox will default as checked; if you do NOT wish to Auto email the website user, deselect this checkbox. See E-mail Proposal/Invoice Message for more information on the E-mail that will be sent. Additionally, see Client Connect Proposal Status for information on how to set each individual Proposal setting. |
Editing a Website User
Once a Website user has been added to the list, additional options/buttons will be available on the Website Users tab.
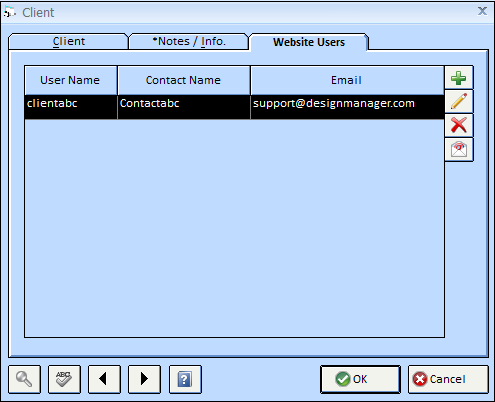
![]() Edit an Existing User - Select/highlight the user on the grid and choose the Edit button. Make any of the necessary changes needed. This is where you would reset/edit a password.
Edit an Existing User - Select/highlight the user on the grid and choose the Edit button. Make any of the necessary changes needed. This is where you would reset/edit a password.
![]() Delete – To Delete a user, Select/highlight the user on the grid and choose the Delete button.
Delete – To Delete a user, Select/highlight the user on the grid and choose the Delete button.
![]() Invite – Once you have added the user, or made changes to the user, you can send them an E-mail Invite. Select/highlight the user on the grid and choose the Invite button. An e-mail window will appear. Make any changes/additions here, then Choose Send. Choose Cancel if you do not wish to send the Invite E-mail. The Invite E-mail will include the Invite Message found on the ClientConnect Settings – Email Message.
Invite – Once you have added the user, or made changes to the user, you can send them an E-mail Invite. Select/highlight the user on the grid and choose the Invite button. An e-mail window will appear. Make any changes/additions here, then Choose Send. Choose Cancel if you do not wish to send the Invite E-mail. The Invite E-mail will include the Invite Message found on the ClientConnect Settings – Email Message.
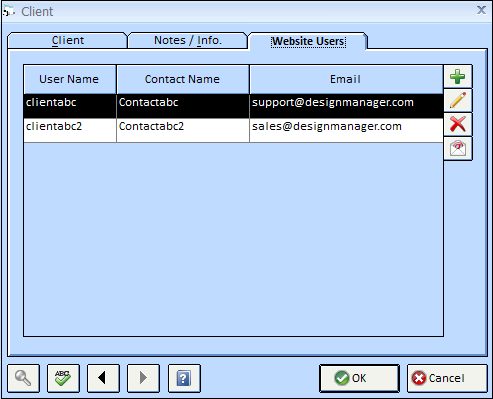
Once you have completed the set up and emailed the Client their log-in information, Choose OK to close the Client Glossary window. Or choose Add ![]() to add any additional users that need access for this client. Each user, separately, can be given access to See Status and/or Make Payments. Example, you may give one user access to both abilities to See the Status and Make Payments, however, you may wish to give a second user access to only See the Status view and not have the ability to Make any Payments.
to add any additional users that need access for this client. Each user, separately, can be given access to See Status and/or Make Payments. Example, you may give one user access to both abilities to See the Status and Make Payments, however, you may wish to give a second user access to only See the Status view and not have the ability to Make any Payments.
Project Default Setting
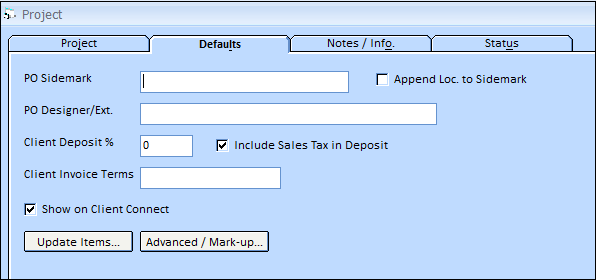
If a Client has more than one Project you may select individually which Projects are available to be viewed on the ClientConnect website.
This default is controlled within the Project - Defaults tab. The Show on Client Connect box is selected by default.
Once you have Updated your ClientConnect you will notice a new symbol on the House Icon ![]() for each of the Projects associated with the Client. This means they are setup as a ClientConnect Project.
for each of the Projects associated with the Client. This means they are setup as a ClientConnect Project.
![]()
For information on how the ClientConnect website is viewed by your Client (the website user), see ClientConnect - Website Users View.