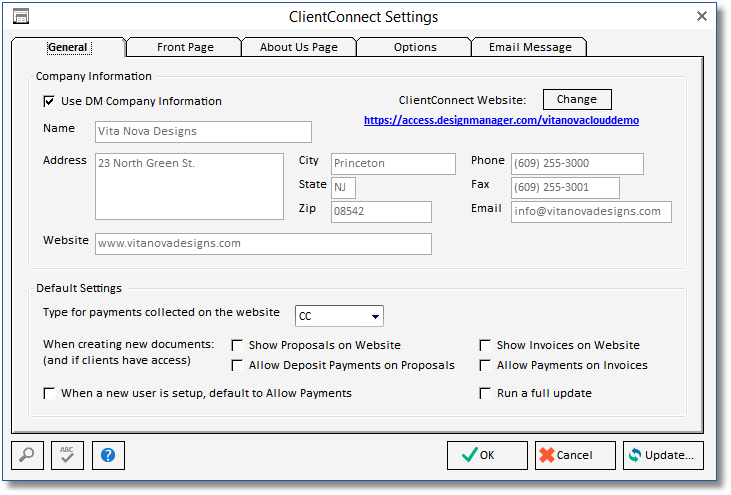
The General Tab is where you will enter the Company Information you wish to display on your ClientConnect Website.
You may choose to use the DM Company Information from the File – Company Settings - Company Tab. Or enter a different Name and Address accordingly.
To the far right you will see your ClientConnect Website address starting with: https://access.designmanager.com/
This is the site where your client will access their account information. Design Manager will assign this address to you. You can click on the hyperlink to go directly to the site for viewing.
*CloudSpace users, it is best for you to view this access site within your own local Internet browser (not using the CloudSPace IE provided). Clicking on the link provided here, will not show all of the proper information.
DO NOT CHANGE this address unless you are told to do so by a Design Manager Team Member.
If you have been instructed to Change this site Click on the ![]() button; we will first warn you not to change unless a new name is given to you by Design Manager.
button; we will first warn you not to change unless a new name is given to you by Design Manager.
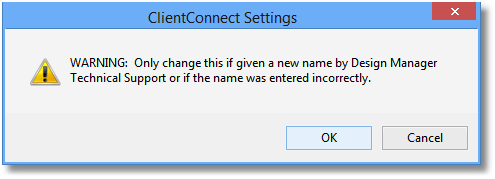
Choose OK to continue.
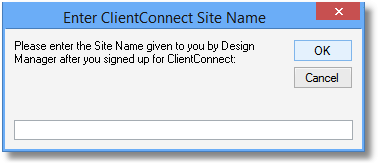
Enter the Address Design Manager has assigned to you. Then Choose OK.
You will see the address appear above the Change ![]() button switch to the newly entered information.
button switch to the newly entered information.
Default Settings
| • | Type for Payment Collected on the Website: You MUST have a Merchant Warehouse account to accept payments online. The choices in the drop down will come from the Company Settings - A/R Payment Tab. Any Cash Receipt Payment Type that has the Run Credit Card using MerchantWare selected will appear on this list. Here you can choose the Payment Type that the Online payments will be brought into Design Manager as. This gives you the ability to create a separate Payment Type on the A/R Payment tab that is specifically for Online Payments and then choose this Type for the ClientConnect Payments, so that you may keep the Online receipts separate from other MerchantWare Credit Card Payment Receipts if you prefer. ***ClientConnect users: The Always ask for CV Code option MUST NOT be selected for the Cash Receipt Type you wish to use for your website. If you do not see a selection for the website payment type in the drop down, be sure that the Cash Receipt type on the Company Settings - A/R Payment Tab you wish to use does NOT have the Always Ask CV Code selection chosen. |
| • | When creating new documents (and if clients have access): |
| • | Show Proposals on Website - This option will set each new Proposal to show on the ClientConnect website when it is created. It does not affect proposals already accepted. Each proposal can be set to show or not show on the website individually, to change the settings to previous proposals, see ClientConnect Proposal Status. |
| • | Allow Deposit Payments on Proposals - This option will set the default for whether or not the user may make Payments on the uploaded Proposals; this pertains ONLY to new accepted Proposals with a positive requested deposit. If this default is changed, ONLY new Proposals will be affected. To change the access to previous proposals, see ClientConnect Proposal Status. Or you can change the access rights for the Website User. |
| • | Show Invoices on Website - This option will set each new Invoice to show on the ClientConnect website when it is created. It does not affect proposals already accepted. Each proposal can be set to show or not show on the website individually, to change the settings to previous Invoices, see ClientConnect Invoice Settings. |
| • | Allow Payments on Invoices - This option will set the default for whether or not the user may make Payments on the uploaded Invoices; this pertains ONLY to new accepted Invoices. If this default is changed, ONLY new Invoices will be affected. To change the access to previous Invoices, see ClientConnect Invoice Settings. Or you can change the access rights for the Website User. |
| • | When a new user is setup, default to Allow Payments - This option will automatically check the Allow Payments box when you add a new Website User. |
| • | Run a full update - A full update will resend ALL documents to upload to the ClientConnect website, whether changed recently or not. Running a full update takes much more time than using the Update button. The Update button only sends the changes to or any new accepted documents; current documents already on the Website are not uploaded/affected, unless changes were made. |
***This run full update option will rarely/if ever be used. A technical support person from Design Manager will instruct you to choose this option, if/when it is necessary. For all normal Updates, please use the Update Button ![]() provided.
provided.
Once you have selected all of the Options you wish to be set, be sure to choose OK, to save them. Choosing Cancel will not save any changes you have made.
Updating the ClientConnect Website:
Choose the Update ![]() button to sync your website with any new changes you have made in Design Manager. You will need to do this each time you make a change and wish it to be available online for your Website Users. If you prefer, you can wait until the end of the day to sync ALL changes at once. The system will ask you to Update upon entry of the program if you have not updated in the last 24 hours.
button to sync your website with any new changes you have made in Design Manager. You will need to do this each time you make a change and wish it to be available online for your Website Users. If you prefer, you can wait until the end of the day to sync ALL changes at once. The system will ask you to Update upon entry of the program if you have not updated in the last 24 hours.
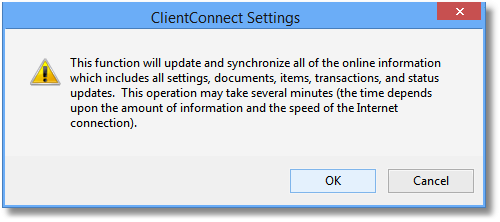
Once the Update is successful the following window will appear:
Choose OK.
For information on how the ClientConnect website is viewed by your Client (the website user), see ClientConnect - Website Users View.